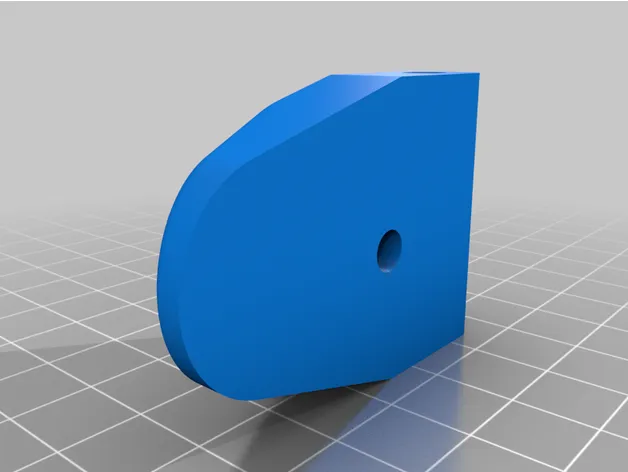
Fanatec Mclaren V2 to Big Grip GT Wheel by TikalSport
Ich wollte immer ein Lenkrad mit 320mm Diameter und dicken Griffen ohne Speiche. Nirgendwo kann man das kaufen. So nahm ich es selbst in die Hand. Das Lenkrad ist für mich die Erfüllung eines GT-Lenkrads.
Ich habe es aus PLA gedruckt. Durch die Dimension ist es sehr steif und belastbar. Ich nutze es an einer Fanatec DD2 Base mit bis zu 20Nm.
Umbau Fanatec Mclaren V2 zu Big Grip Wheel GT
- Platine aus Fanatec Mclaren Lenkrad ausbauen
- Verlängern der Kabel vom Stecker (Wheel to Base)um ca. 4-5 cm
- Teile besorgen bzw. dem McLaren Lenkrad entnehmen (Einschmelsgewinde M5 6x)
Möglichst Quickrelease von Fanatec einbauen, es geht aber auch der Plastikrelease. - Wenn Du ein SLS - Drucker hast, kannst Du das eigentliche Wheel ganz drucken.
Bei einer Druckfläche von über 325mm kann das Lenkrad in zwei Teilen gedruckt
werden, darunter sind sieben Teile zu drucken. Die Teile sind dann mit einem guten
Plastikkleber zu verbinden. Wichtig beim Kleben: Ebene Flächen! Mit 180er Schleifpapier
behutsam die Klebeflächen plan schleifen! - Die Schaltwellen sind dicke Kugelschreiberminen, sogenannte Großraumminen, die einen
Durchmesser von 5.75mm haben. Das Anpassen der Bohrungen für die Schaltwippen ist
obligatorisch, damit kein Spiel auftritt. Die Schaltwippen werden mit Magneten versehen,
man benötigt vier 10mm Neodymmagnete und vier mal 5mm Neodymmagnete jeweils mit
2-3mm Dicke. Unter dem Loch in dem Schalthebel ist ein dünner Plastikstreifen
anzubringen, der eine gewisse Schräge aufweist. Dann rutscht der Schaltstift nicht in die
Bohrung. Die Bohrungen für den Magnetblock sind mit M3 Einschmelzgewinde zu versehen. Die M4 Gewinde für den Kontaktstecker zur Base können geschnitten werden, aber auch mit der Schraube vorsichtig eingeschnitten werden. - Das Einpassen der Platine sollte mit Geduld und sorgsam mit der Blende zusammen
ablaufen. Dabei helfen die Distanzscheiben. Auf einem beigefügten Bild, sieht man die
Positionen der Distanzstücke. Zum Festschrauben können die entnommenen
Plastikschrauben aus dem Fanatecwheel benutzt werden. Die Distanzscheiben sind mit
einem 3mm Loch zu versehen. Anschließend müssen die Distanzstücke mit Kleber an das Lenkrad angebracht werden. Wie gesagt, dies sollte möglichst mit Augenmaß ablaufen, da
sonst die Druckknöpfe nicht fluchten.
Beim Oleddisplay müssen die Steckstifte auf der Platine gekürzt werden (kleine
Kneifzange) , so das der Stecker
vom Display aufliegt! - Damit das Oled-Display keinen Schaden durch Pressung bekommt, unbedingt die
Distanzscheiben über die mittleren Drehschalter legen. - Um zu verhindern, das bei Druck auf dem Wheelcover Knöpfe betätigt werden, sind mit
Kleber die gebogenen Stopper anzubringen (s. Bild). - Rennradlenkerband tut der Hand gut!
I always wanted a steering wheel with a 320mm diameter and thick grips without spokes. You can't buy that anywhere. So I took it into my own hands. For me, the steering wheel is the fulfilment of a GT steering wheel.
I printed it out of PLA. The dimensions make it very stiff and resilient. I use it on a Fanatec DD2 base with up to 20Nm.
Conversion Fanatec Mclaren V2 to Big Grip Wheel GT
- remove the circuit board from the Fanatec Mclaren steering wheel
- extend the cable from the connector (wheel to base) by approx. 4-5 cm.
- get parts or take them from the McLaren steering wheel (thread M5 6x)
If possible, install the Fanatec quick release, but the plastic release will also work. - If you have an SLS printer, you can print the actual wheel completely.
If the print area is over 325mm, the steering wheel can be printed in two parts.
below that you have to print seven parts. The parts have to be joined with a good
plastic glue. Important when gluing: Level surfaces! With 180 grit sandpaper
to carefully sand the gluing surfaces flat! - The switching shafts are thick biros refills, so-called large-capacity refills, which have a
diameter of 5.75mm. Adjustment of the holes for the gearshift paddles is
obligatory, so that no play occurs. The shift paddles are fitted with magnets,
You need four 10mm neodymium magnets and four 5mm neodymium magnets.
2-3mm thickness. Under the hole in the gearstick lever you have to put a thin plastic strip
that has a certain slope. Then the shift pin does not slip into the hole.
hole. The holes for the magnet block are to be provided with M3 fusion threads. The M4 threads for the contact plug to the base can be cut, but can also be carefully cut with the screw. - the board should be fitted patiently and carefully together with the panel.
together. The spacers help with this. The attached picture shows the
positions of the spacers. To tighten the screws, you can use the
plastic screws from the Fanatecwheel can be used. The spacers have to be
with a 3mm hole. Then the spacers must be attached to the steering wheel with glue. As I said, this should be done with a sense of proportion, since
otherwise the push buttons will not align.
The pins of the oledisplay have to be shortened (small pliers).
pliers) so that the plug
of the display rests on it! - to prevent the oled display from being damaged by pressure, it is essential to place the
the middle rotary switch. 8. - To prevent buttons from being pressed when the wheel cover is pressed, attach the bent
stoppers with adhesive. - racing handlebar tape is good for the hand!